


Quick Answer
Treat the tiles and the site as one system.
Interlocking sports court tiles are typically assembled as a floating surface over a suitable hard base. Inspect the site, confirm the approved layout and connector direction, dry-lay the first sections, connect the field in sequence, trim only after positioning, add the specified edges, and inspect. Base requirements, clearances, cutting, anchoring, and maintenance are product-specific. Follow the current instructions for the exact system and obtain qualified site advice when drainage, structure, equipment, or local requirements are uncertain.
On this page
What this tutorial covers—and what it does not
Interlocking sports court tiles are modular plastic tiles that connect to one another above a separate subsurface. Related terms include modular sports flooring, suspended court tile, and floating court tile. Here, suspended describes the tile structure; it does not mean a raised-access floor or remove the need for a suitable base.
This tutorial begins after a usable subsurface exists. It does not design or build a slab, asphalt pad, drainage system, goal foundation, fence, lighting system, or accessible route. Those elements can affect safety, permits, water movement, and performance and require project-specific professional review.
Manufacturer instructions take priority because locks, panel sizes, layouts, movement behavior, edges, fastening, and approved tools vary. The steps below identify installation decisions without turning one brand’s measurement into a universal specification.
Tools and materials to prepare
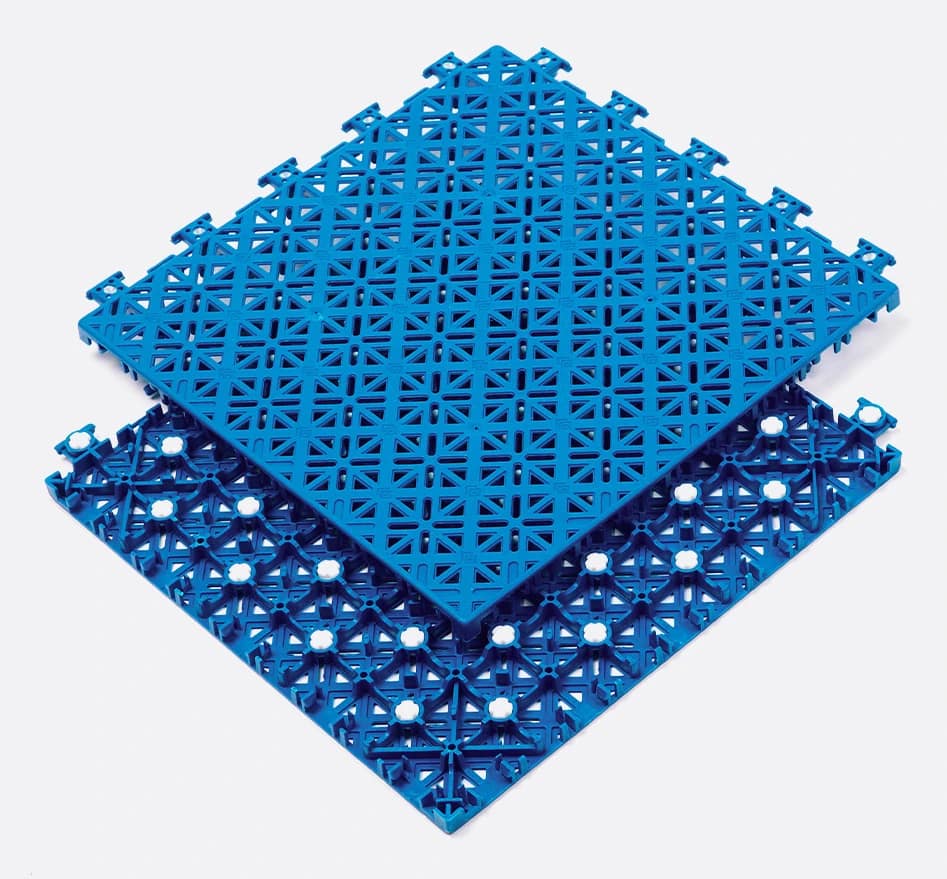
Check the current installation packet before opening bundles. Confirm the model, colors, marked sections, ramps, corners, spares, and approved fasteners. Inventory cartons or sections, photograph damage, and keep labels in sequence through layout verification.
Cutting or anchoring introduces product-specific risks. Use protection appropriate to the task and follow each tool’s instructions. Do not improvise a blade, drill bit, screw, adhesive, or anchor from another flooring system.
- Tape measure, straightedge, string line or chalk line, and the approved layout drawing
- Broom, vacuum, and other cleaning tools appropriate for the existing base
- Knee pads, work gloves, and a soft non-marking mallet only if the tile manufacturer allows one
- Manufacturer-approved cutting tools for perimeter pieces or fixed obstructions
- Manufacturer-approved ramps, corners, fasteners, anchors, and drill equipment when the design calls for them
- A camera or phone for recording the base, dry layout, clearances, and final inspection
Check the subsurface before the first tile
Walk the full area and look for movement, settlement, heaving, loose edges, sharp ridges, contamination, standing water, and abrupt elevation changes. Clean anything that could affect supports or locks. Do not use modular tile to conceal an active structural or drainage problem.
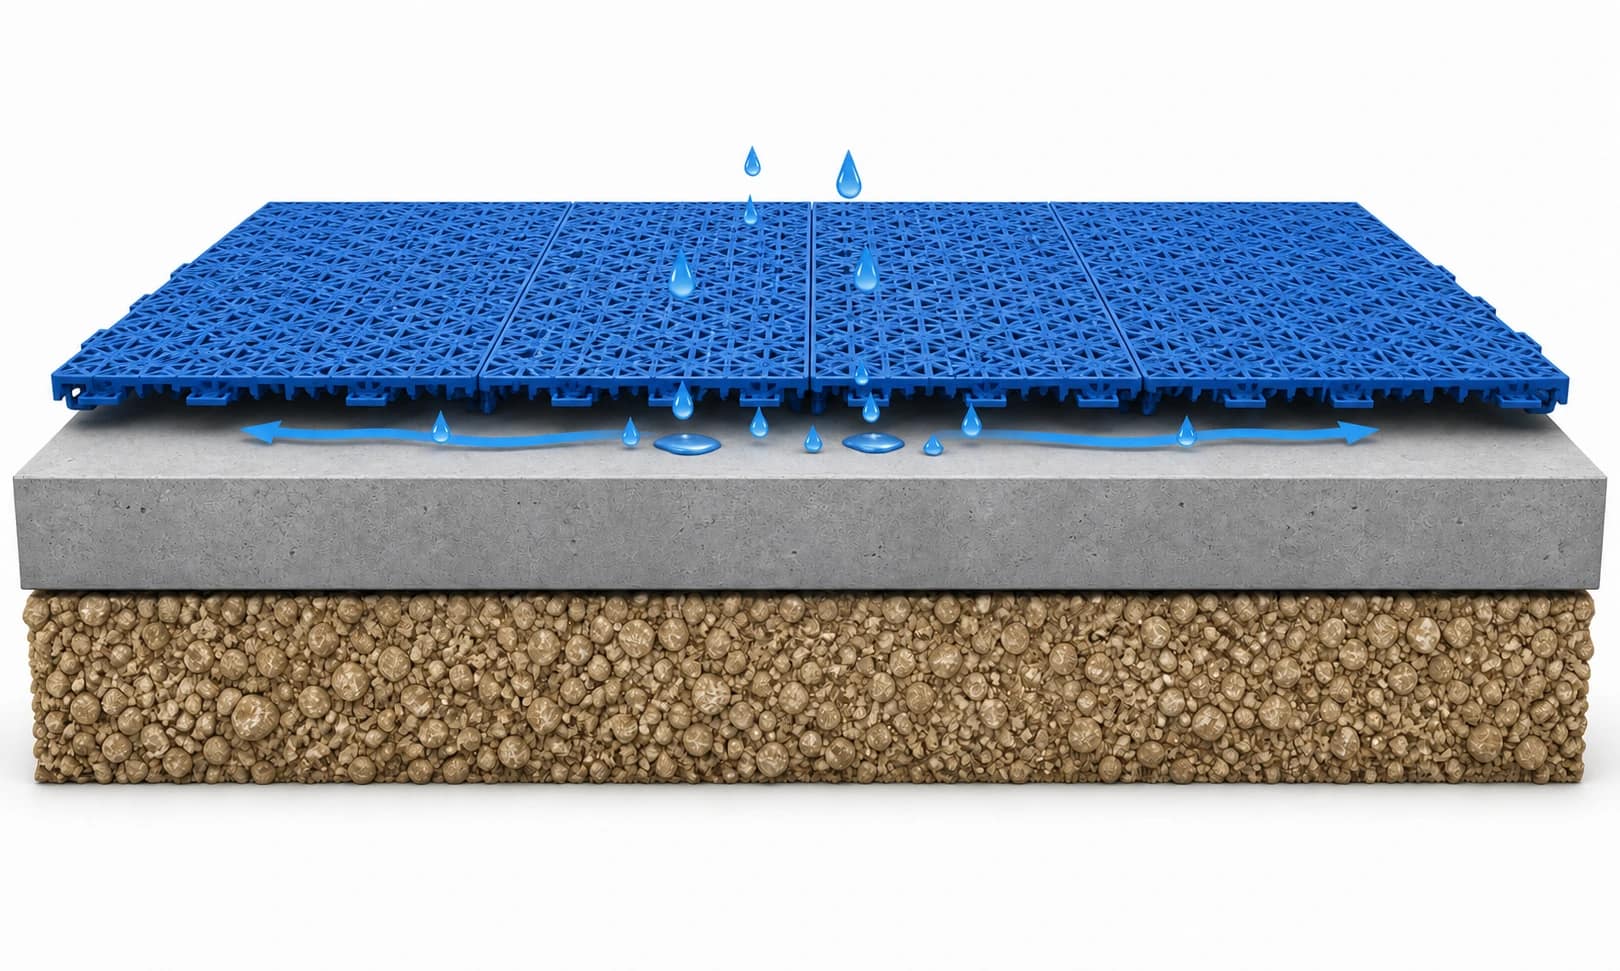
Review water movement under real or simulated conditions. Open-grid tiles may let water pass through the playing surface, but they cannot correct a base that ponds or drains unsafely. Climate and freeze-thaw exposure can also change suitable preparation.
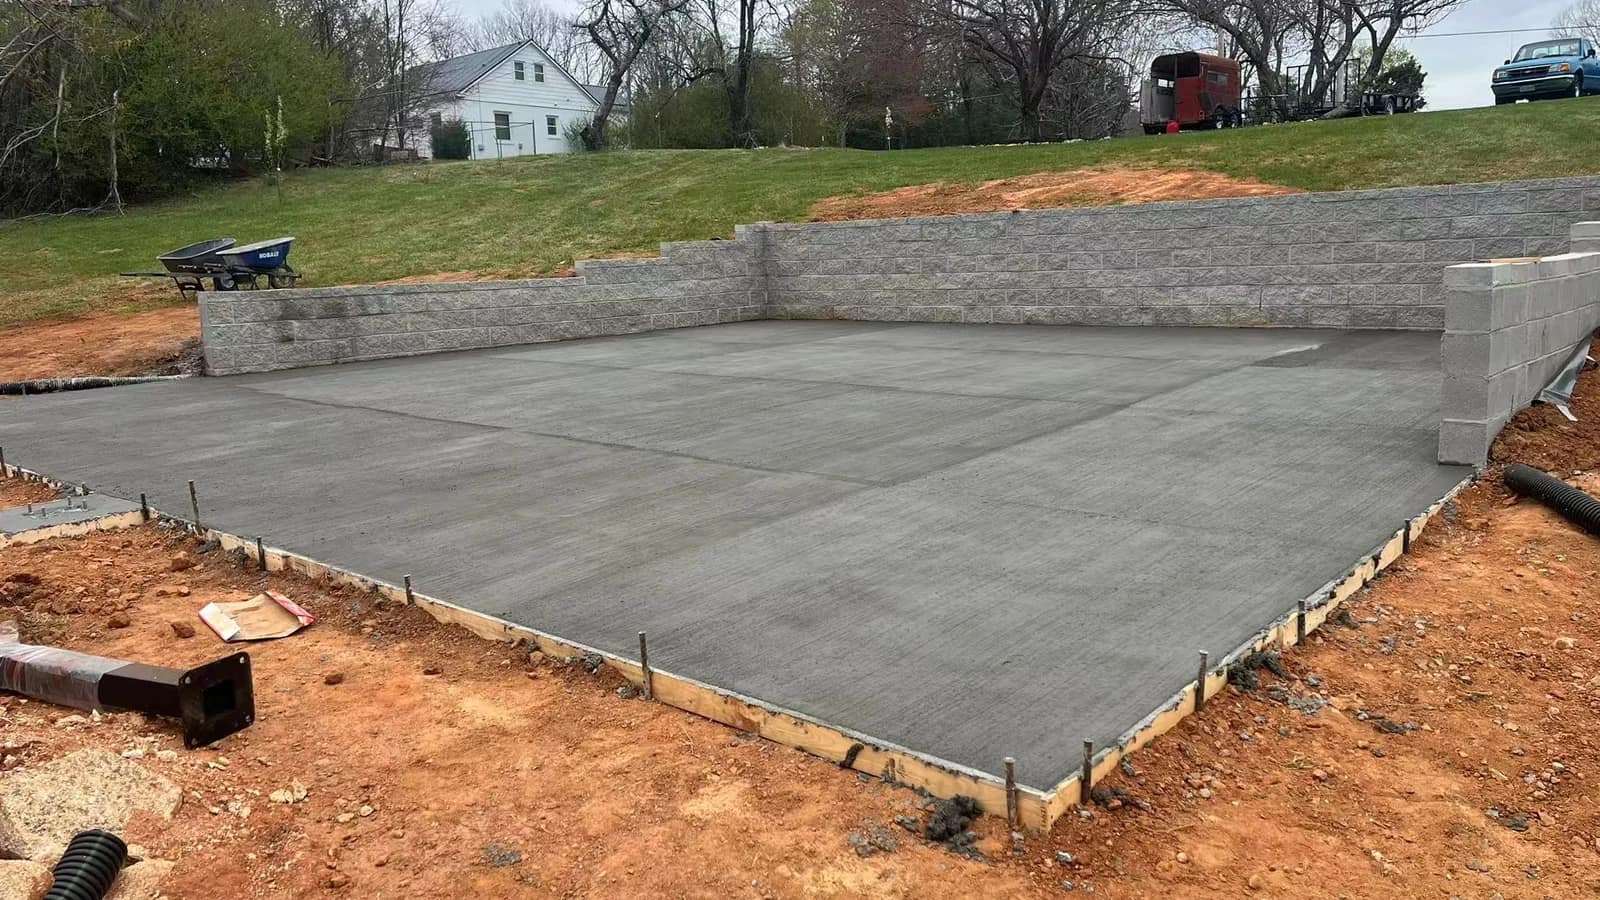
Concrete and asphalt are common court bases, but the material name alone is not approval. The authorized customer example below used a newly placed concrete slab before tile work; it does not prove curing, flatness, slope, drainage, or installation readiness. Confirm the selected manufacturer’s requirements and obtain qualified review for the complete base.
- Stable under load, without loose or collapsing areas
- Clean enough for tile supports and connectors to sit consistently
- Free of sharp projections that could catch a moving tile field
- Draining as intended, without unexplained ponding
- Compatible with the selected product’s written subsurface requirements
Verify the layout, quantities, and starting point
Compare the measured usable area with the approved layout. Mark two perpendicular reference axes or the drawing’s centerlines, plus the boundary, posts, drains, walls, equipment, and transitions. Confirm product-specific movement space and ramp room.
For numbered or pre-painted panels, establish the viewpoint and zones, stage cartons by number, and open only the next approved bundle. Keep spares, edges, and corners separate. Count components and resolve damage or shortages before cutting.
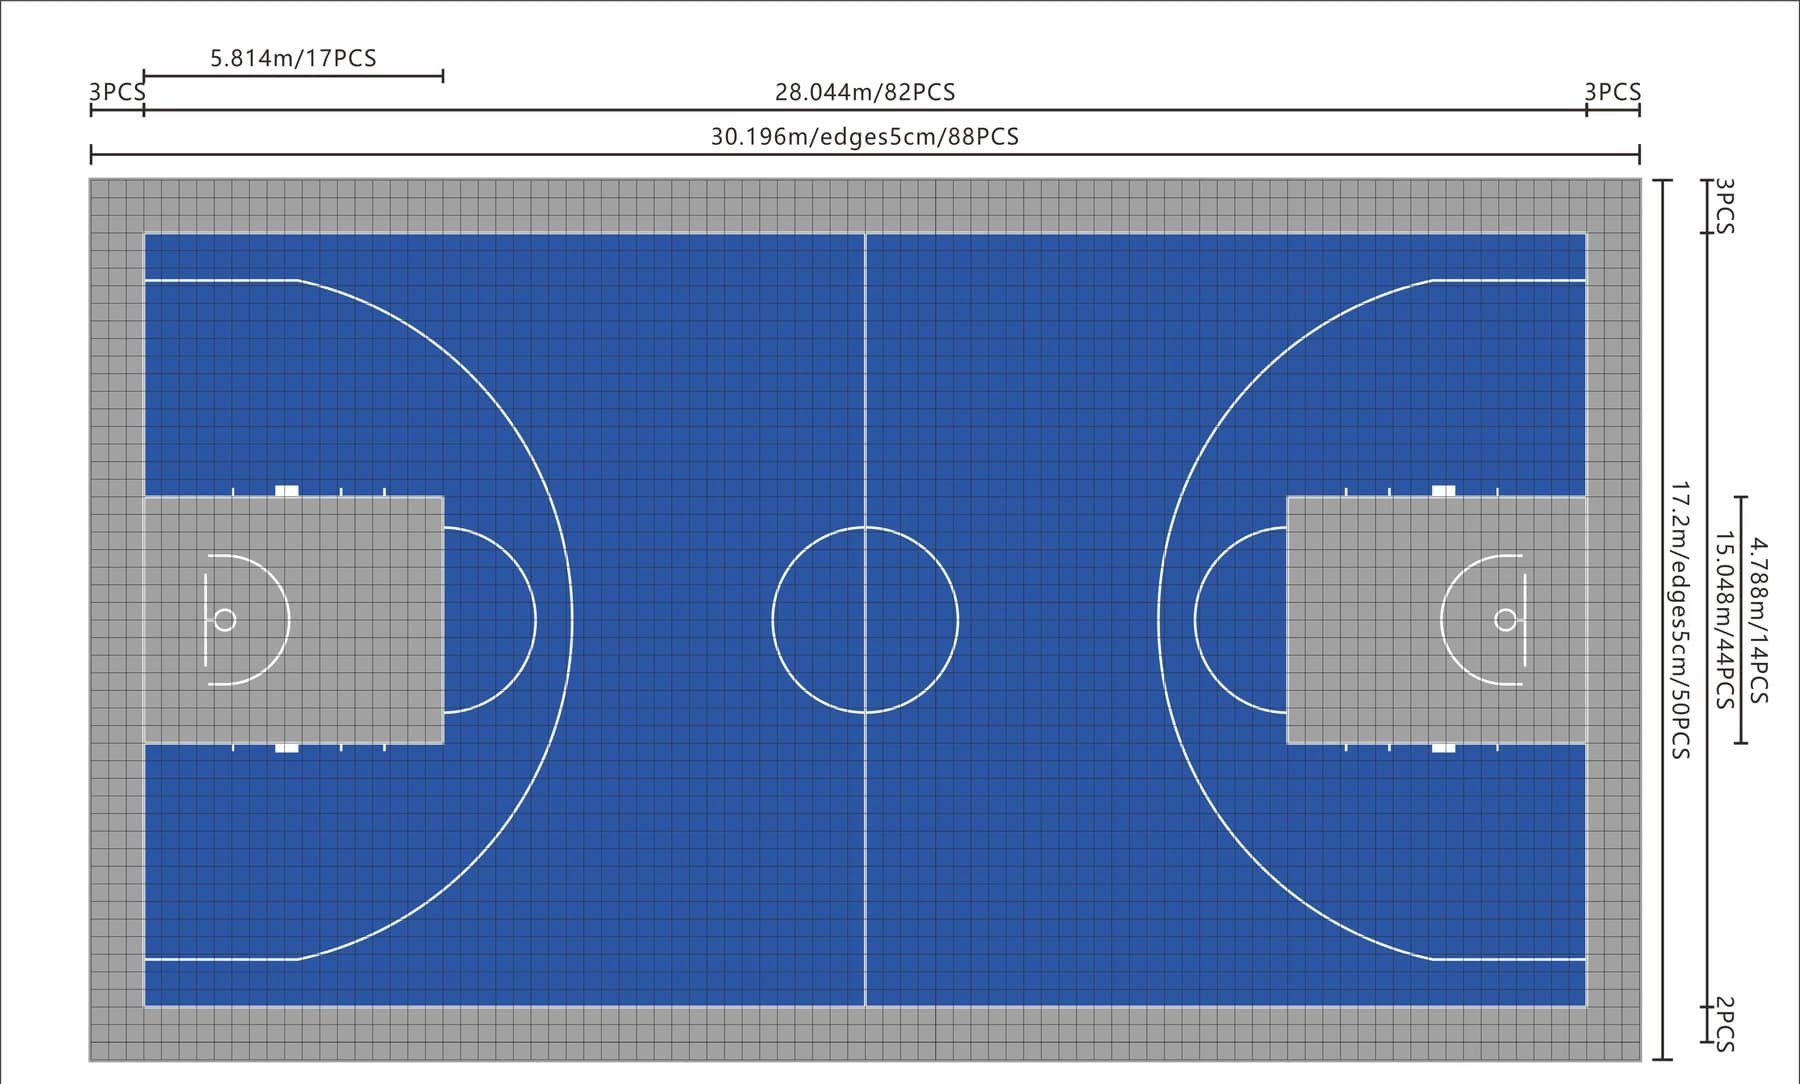
The drawing below is a real Courtily Custom Design example with its internal staff, date, and client fields removed. Its dimensions, piece counts, colors, lines, and edge plan apply only to that project; use the approved drawing supplied for your own order.
Confirm the connector orientation before locking the field
Use square reference lines instead of trusting a slab edge. Dry-position the first sections, then compare connector sides, lines, colors, and equipment alignment before an orientation error grows across the field.
The Arena X300 example marks one possible left-to-right, top-to-bottom sequence. It is not a universal starting corner or connector direction.
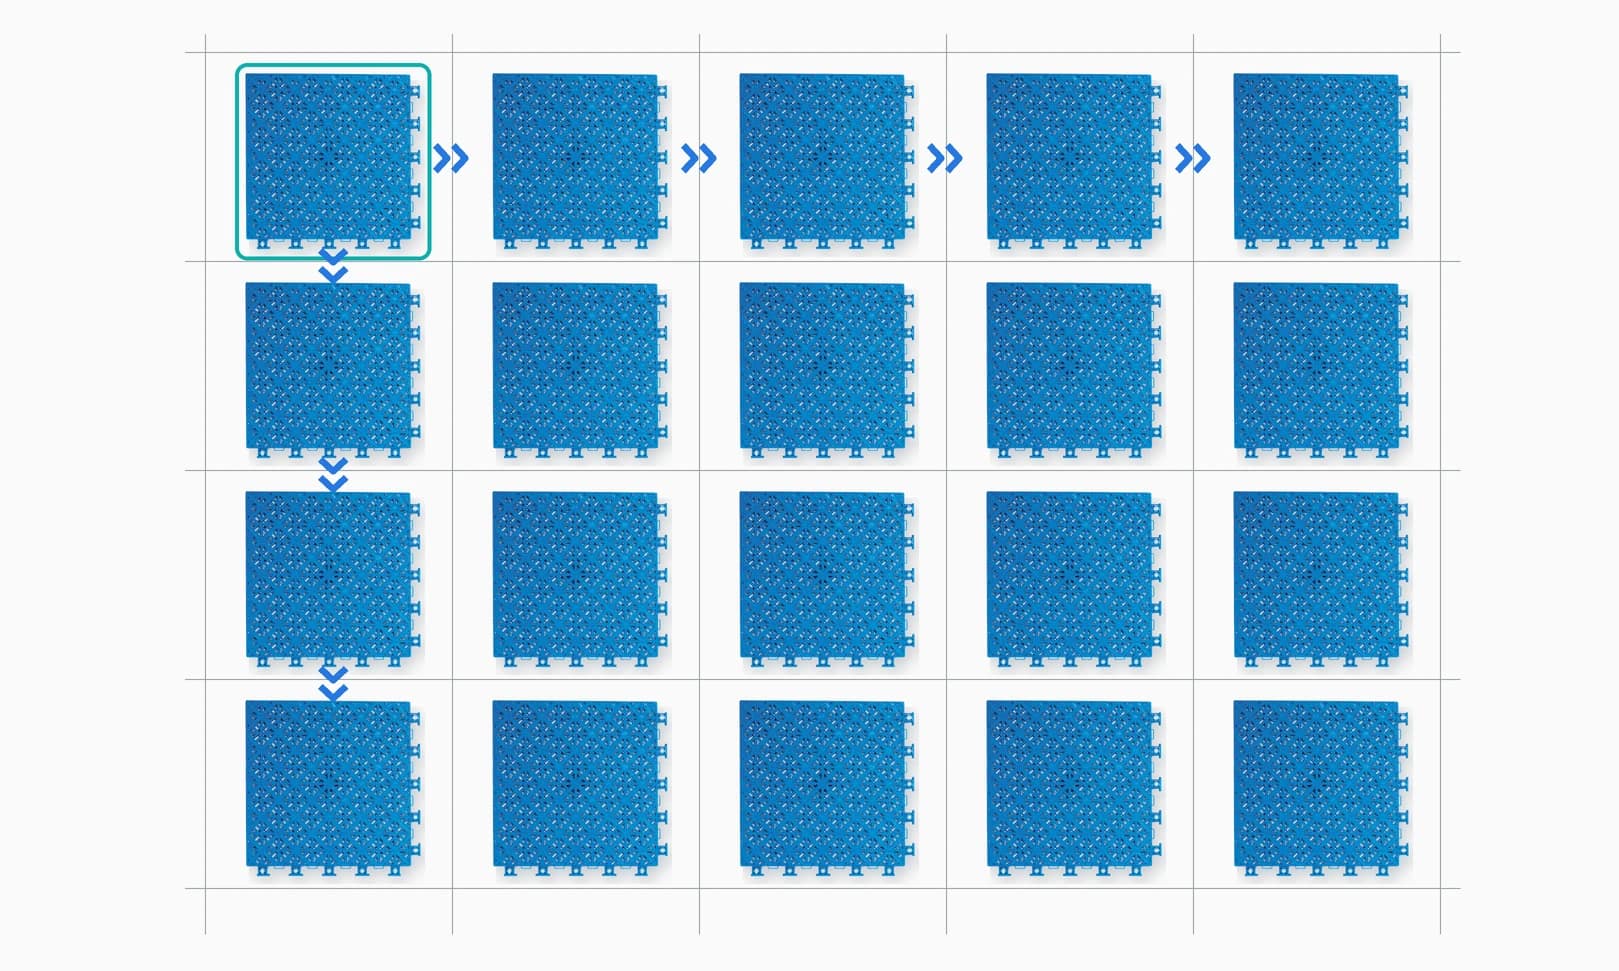
Install the interlocking court tiles step by step
Work in manageable sections and keep the installation drawing visible. The field should remain free to move as the selected system intends. Do not add adhesive, screws, weights, tight trim, or other restraints unless the current manufacturer instructions explicitly call for them.
Stage the materials
Inventory labeled bundles, spares, edges, and corners. Stage each bundle by its documented zone without blocking drainage or access, and protect painted faces and connectors.
Set the first corner
Place the first tile or panel at the documented starting reference. Check both axes, connector sides, color, line work, and court position before continuing.
Dry-lay the next sections
Position enough material to verify the pattern, lines, equipment relationship, and perimeter space. Check that pre-painted lines continue across planned seams.
Lock the first row or section
Engage the matching connector sides using the technique specified for the product. Apply even, controlled pressure at the joint. If a connector resists, stop and check orientation, debris, or damage instead of forcing it.
Continue in the documented sequence
Open the next numbered bundle and build one row or zone at a time. Recheck axes and markings often; correct drift before a large area must be separated.
Keep movement paths open
As the field approaches walls, posts, drains, or equipment, maintain the clearance specified for the selected system. Do not wedge the tile field tightly against a fixed object or bridge a required drainage opening.
Position the complete field before final cuts
Where cutting is allowed, assemble and center the field first. Mark cuts from the final position, protect the face, use the approved method, and remove sharp edges as directed.
Add transitions and approved restraint
Install the specified ramps and corners after the main field is aligned. If the design requires anchoring, follow the exact edge, spacing, fastener, and substrate instructions. Do not assume that more anchors create a better floating installation.
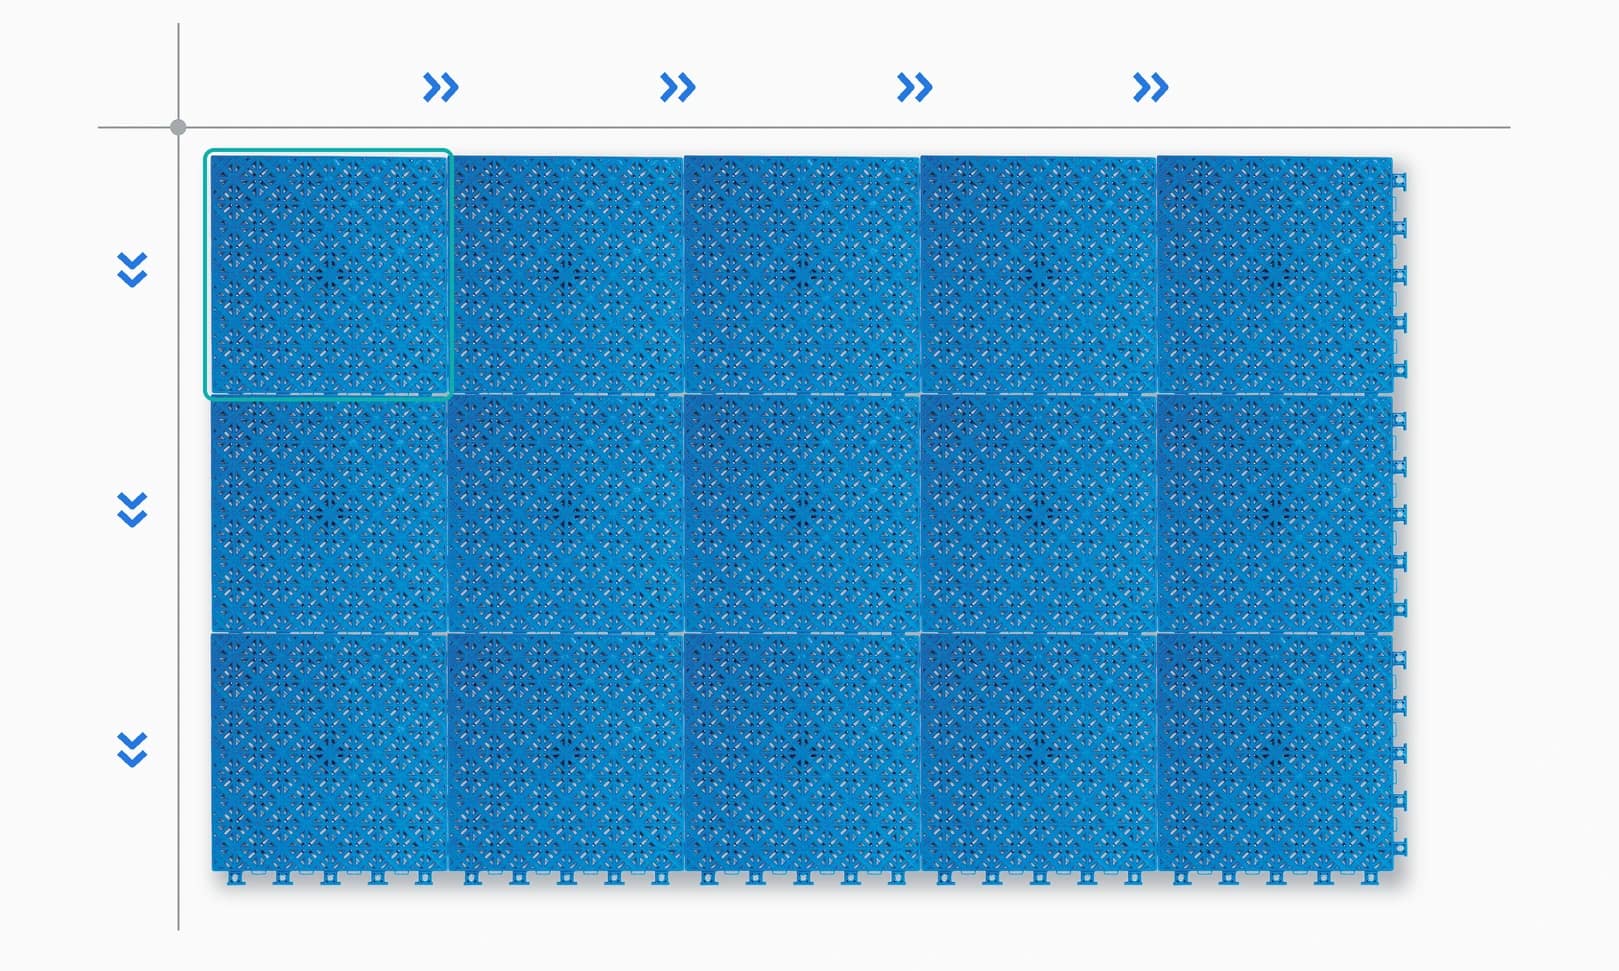
Trim, edge, and anchor without blocking movement
Plastic court tiles move as conditions change, but required clearance depends on tile geometry, field size, exposure, base friction, and manufacturer. Use the current product calculation—not a number copied from another brand. Follow any required temperature conditioning before cutting.
Fit ramps and corners without clamping the field. Anchoring is not universal: some layouts secure a limited edge while others remain unanchored. Incorrect fastening can block intended movement. Escalate wind exposure, public access, unusual geometry, or equipment conflicts to the supplier and a qualified site professional.
Complete a final installation inspection
Inspect before play. Walk every row and check support, seams, lines, transitions, and freedom around fixed objects. Reconcile spares with the packing list; retain the final layout, bundle records, and maintenance instructions.
Reinspect after relevant environmental changes. Stop use if tiles buckle, separate repeatedly, rock, create a sharp transition, block water, or move outside the product’s limits.
- All visible connectors are engaged without cracked, distorted, or forced joints
- Rows, color blocks, logos, and game lines match the approved layout
- The field is square and remains within the planned perimeter
- Fixed posts, walls, drains, and equipment retain the required clearance
- Ramps and corners are complete, supported, and free of sharp edges
- Water paths remain open and no new ponding condition is visible
- Cut pieces and approved fasteners match the manufacturer’s instructions
- Spare tiles, layout drawings, product instructions, and inspection photos are retained
Common installation mistakes to avoid
Most avoidable problems begin before the center of the court is assembled. Treat the first measurements, base review, and starting orientation as quality-control steps rather than setup chores.
- Covering a moving crack, unstable base, sharp ridge, or drainage failure instead of correcting the underlying issue
- Starting from the wrong viewpoint, mixing numbered bundles, or reversing connector directions, which can misalign painted lines and prevent consistent locking
- Forcing a resistant seam with excessive impact instead of checking orientation, contamination, or damaged locks
- Cutting perimeter pieces before the complete field is positioned and checked
- Copying another brand’s expansion gap, anchor pattern, screw, adhesive, or cutting method
- Fastening multiple sides of a floating field without written approval for that exact system
- Treating open-grid tile as a substitute for a designed base slope or drainage route
- Skipping the final walk-through, ownership records, and manufacturer maintenance instructions
Frequently Asked Questions
Court tile installation FAQ
Can interlocking sports court tiles be installed over concrete?
Concrete is a common base, but it must meet the selected product’s requirements for stability, finish, flatness, cracks, moisture, drainage, and cleanliness. Review the exact manual and obtain qualified advice for movement, severe cracking, persistent ponding, or a new slab.
Can court tiles be installed over asphalt?
Some systems allow suitable asphalt. Acceptance depends on product requirements, condition, slope, temperature behavior, contamination, and support. Soft, rutted, crumbling, new, or poorly draining asphalt needs review. Never transfer concrete fasteners or preparation methods without written instructions.
Can modular tiles cover cracks in the base?
A manufacturer may permit limited stable cracks after preparation, but this is not universal. Moving, heaved, deteriorating, or water-related cracks can affect support, drainage, and tile movement. Identify the cause and obtain qualified advice when a crack suggests active failure.
Sources: [2]
Do interlocking court tiles need adhesive?
Many systems form a floating field without adhesive, but the method is product-specific. Unapproved adhesive can block movement, affect drainage, and complicate repair. Use it only when current instructions for the exact tile, base, and application require it.
How much expansion space should I leave?
There is no universal number. Clearance varies with material, tile geometry, court size, temperature range, exposure, base friction, obstacles, and anchoring. Obtain the current value or calculation from the selected manufacturer and apply it around every fixed object as directed.
Sources: [2]
Is interlocking court tile installation a DIY project?
Tile assembly can be approachable when the base meets product requirements and the installer can safely measure, connect, trim, and inspect. DIY assembly is not slab, drainage, foundation, or public-facility design. Use qualified professionals for those elements and local requirements.
What should I do if the finished court starts to buckle?
Stop play and document the conditions. Check for blocked movement, debris, base changes, heat, and drainage, but do not force the area flat or cut it without direction. Give the supplier or qualified installer the layout, photos, weather, and installation records.
How this guide was prepared
This guide compares public guidance from VersaCourt, Matéflex, ModuTile, and USA Pickleball. Shared themes inform the sequence; brand-specific dimensions and fastening rules were not generalized.
Courtily reviewed a 2024 project-specific customer handoff covering numbered cartons, layout zones, centerlines, edge sequencing, and anchoring. Only workflow concepts were retained; its dimensions, tolerances, clearances, drill size, and anchor density were excluded.
Authorized customer media and Courtily layouts remain project-specific; they do not establish base engineering, onsite services, certification, or universal installation values.
Sources were reviewed July 30, 2026. Instructions can change, so retrieve the current manual for the exact product before work begins.
What Courtily verified
- Arena X300 product visuals use verified Courtily photography and are examples, not universal instructions.
- The concrete-base and finished-court photos are authorized; the finished-court face and outfit use fictional AI-generated alternatives.
- The embedded customer video documents one Courtily product project and is not presented as a universal installation method.
Commercial disclosure and scope
Courtily sells Court Tiles, offers physical samples, and provides paid digital Custom Design for layout and quantity guidance. Courtily does not currently claim to provide subsurface engineering, concrete or asphalt construction, drainage design, professional installation, equipment foundations, permitting, or site inspection. Product links in this guide are commercial links to Courtily’s own catalog.